
Why Every School Needs a Yearbook Layout System
The Complete Yearbook Layout Checklist & Workflow Guide for School Publication Teams.
Every school dreams of a beautiful, well-organized yearbook that captures memories, achievements, and milestones.
But behind every stunning yearbook is a clear process, a dedicated publication staff, and a well-organized layout checklist.
If you’ve ever felt the rush of deadlines, missing photos, last-minute corrections, or printing errors — you’re not alone. Many schools in the Philippines face these same challenges every graduation season.
That’s why this guide was created — to help school publication teams, advisers, and printing press partners manage the entire yearbook process with confidence and clarity.
This article will walk you through:
- The complete yearbook layout checklist
- Roles and responsibilities of publication staff
- How to organize materials, photos, and files
- How to design efficiently in Adobe InDesign
- The right workflow from layout to printing
Let’s get started!
Part 1: Materials Preparation & Organization
Before any design begins, organization is key.
Most layout delays happen because materials are incomplete, filenames are wrong, or photos are missing.
Here’s how top yearbook experts recommend doing it — and how you can follow the same system in your school.
Step 1. Gather All Materials
☐ Collect write-ups (principal’s message, teacher dedications, student tributes, alumni notes).
☐ Compile student data — names, grade levels, quotes, awards, and club affiliations.
☐ Verify spelling and consistency across all names and titles.
Responsible Staff: Managing Editor, Class Advisers, Proofreaders
Step 2. Prepare All Photos Correctly
☐ Portrait photos should follow a naming format like Lastname_Firstname.jpg.
☐ Activity photos should be grouped by event (e.g., Sportsfest2025_01.jpg).
☐ Choose only the best 25 photos per activity spread — more than that can clutter the design.
☐ Save all images in high resolution (300 DPI) for clear printing results.
Responsible Staff: Photographers, Photo Editors
Step 3. Build an Organized Folder System
Use this folder structure to avoid confusion:
YEARBOOK_2025
│
├── 01_Manuscripts
├── 02_Photos_Graduates
├── 03_Photos_Activities
├── 04_Design_Assets
├── 05_InDesign_Files
└── 06_Final_PDFs
Always back up your files on a USB drive or Google Drive.
Responsible Staff: Managing Editor / Layout Artist
Step 4. Create a Dummy Layout
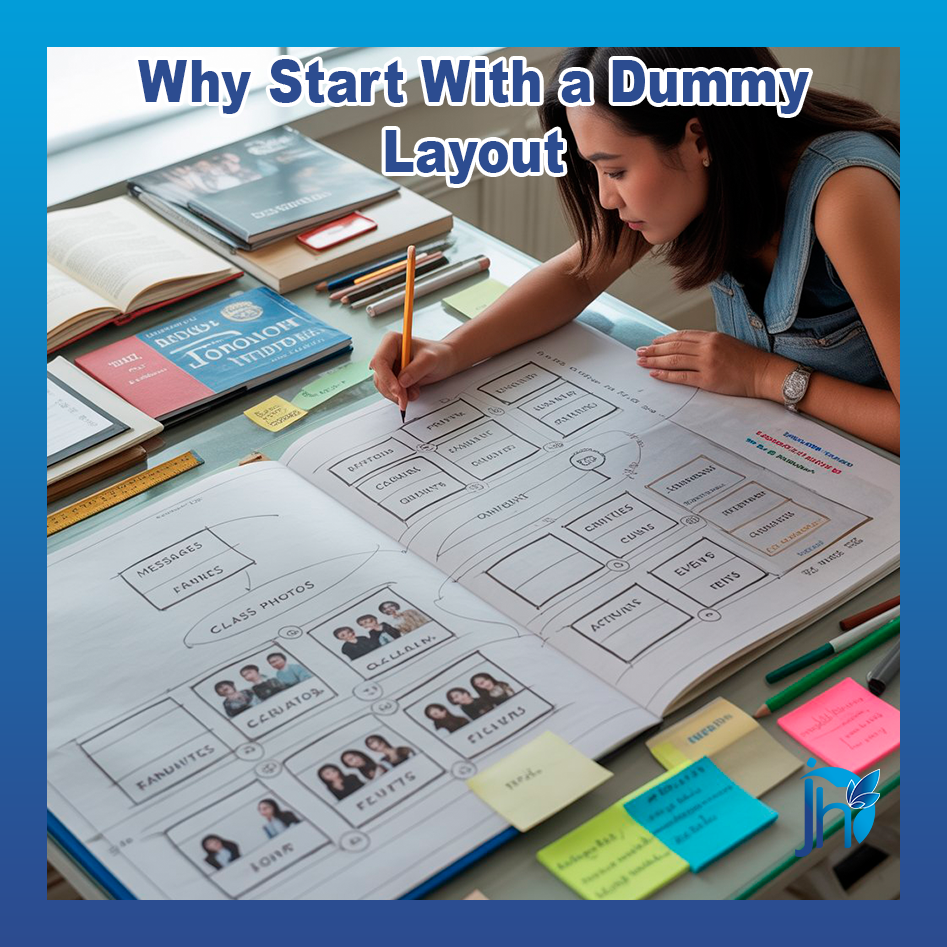
A dummy is a simple sketch or digital plan showing where each page belongs — messages, class photos, activities, etc.
This saves hours later because everyone already knows what goes where.
Responsible Staff: Art Director / Layout Artist
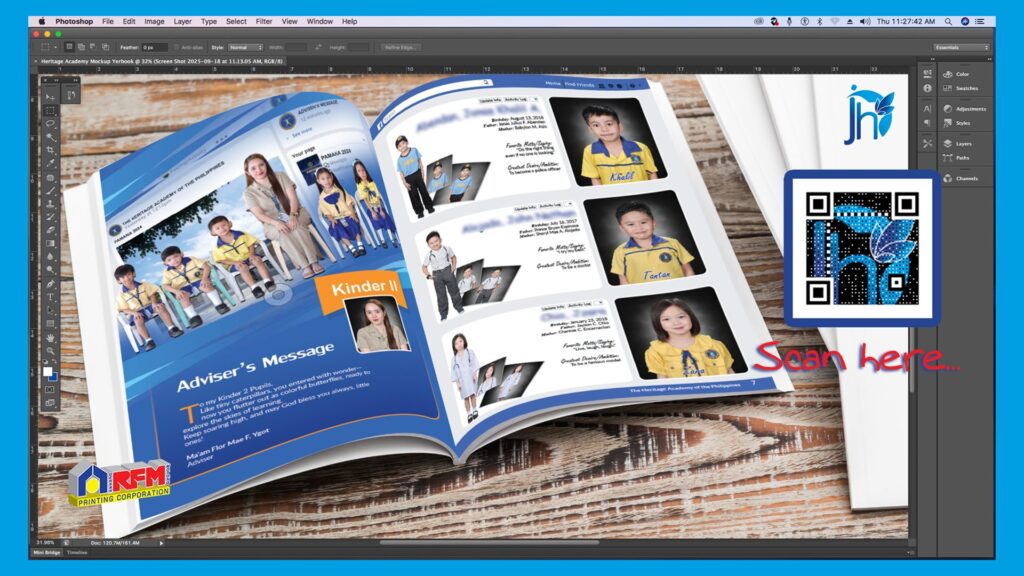
Part 2: Layout & Design in Adobe InDesign
Once materials are complete, it’s time to move into Adobe InDesign — the industry-standard software for professional yearbook design.
Step 5. Set Up Your Document Properly
☐ Size: 8.5” x 11.5” (standard yearbook size)
☐ Bleed: 0.25” on top & bottom, 0.5” on the outside
☐ Margins: 0.5” (for safe zones)
Use Master Pages to control headers, footers, page numbers, and consistent section titles.
Responsible Staff: Layout Artist
Step 6. Apply Styles and Grids
☐ Create Paragraph Styles for titles, captions, and body text.
☐ Use consistent fonts and colors that match your school theme.
☐ Follow grid alignment to keep elements neat and balanced.
Responsible Staff: Layout Artist / Art Director
Pro Tip: Consistency builds professionalism. Adobe InDesign experts like Terry White and David Blatner emphasize using styles for speed, accuracy, and branding control.
Step 7. Place Photos Properly
☐ Always link photos instead of embedding them.
☐ Check the image resolution (minimum 300 DPI).
☐ Use frames and clipping masks to maintain uniform photo sizes.
Responsible Staff: Layout Artist / Photo Editor
Step 8. Finalize and Package Files
☐ Double-check page order.
☐ Export a print-ready PDF (PDF/X-1a:2001).
☐ Package all linked files and fonts before sending to the printer.
Responsible Staff: Layout Artist
Part 3: Proofing, Production & Delivery Timeline
This is where accuracy meets accountability.
A single typo or missing name can cause reprints — and cost money and time.
Follow this final checklist to ensure a smooth production flow.
Step 9. Proofreading & Corrections
☐ Print a mock-up copy or PDF proof.
☐ Have multiple staff members review for errors.
☐ Use sticky notes or digital comments for feedback.
Responsible Staff: Copy Editor / Proofreader / Adviser
Step 10. Pre-Press & Color Proof
☐ Send PDF to the printing press for preflight checking.
☐ Approve a color proof before mass printing.
☐ Confirm binding type (perfect bind, hardbound, etc.).
Responsible Staff: Adviser / Printing Coordinator / Press Liaison
Step 11. Printing, Binding, and Delivery
☐ Approve the imposition thumbnail print before full production.
☐ Monitor schedule: Layout → Proofing → Printing → Binding → Delivery.
☐ Quality-check printed books before releasing to students.
Responsible Staff: Adviser / Business Manager / Distribution Committee
Understanding the Roles of Publication Staff

Here’s a quick summary of who does what in the entire process:
| ROLE | MAIN RESPONSIBILITY |
|---|---|
| Adviser / Moderator | Oversees project, approves final output, coordinates with designer and printer |
| Editor-in-Chief | Leads staff, checks content quality and theme consistency |
| Managing Editor | Tracks progress, manages folders, and deadlines |
| Writers / Editors | Create and edit write-ups, captions, and titles |
| Photographers | Capture and organize all event and portrait photos |
| Layout Artist | Designs all pages using Adobe InDesign |
| Proofreader | Checks grammar, spelling, and accuracy |
| Art Director | Sets design theme, color palette, and page style |
| Business Manager | Handles budget and payment for printing |
| Distribution Committee | Manages release and inventory of printed yearbooks |
Pro Tips from Adobe InDesign Experts
Terry White (Adobe Evangelist):
“Set up your InDesign templates properly once — and you’ll save hours later.”
David Blatner (InDesignSecrets):
“Use paragraph and object styles. Consistency saves you from chaos.”
Anne-Marie Concepción:
“Always preflight your files before sending to print — missing links are your biggest enemy.”
Following these principles ensures your yearbook is not just creative, but print-perfect.
Suggested Time Frame (Typical 8–10 Week Workflow)
| PHASE | TASK | ESTIMATED TIME |
|---|---|---|
| Week 1–2 | Gather materials and photos | 2 weeks |
| Week 3–4 | Layout design and initial proof | 2 weeks |
| Week 5–6 | Proofreading and corrections | 2 weeks |
| Week 7–8 | Pre-press and color proofing | 2 weeks |
| Week 9–10 | Printing, binding, and delivery | 2 weeks |
A clear schedule keeps everyone on track and reduces stress as deadlines approach.
Why Organization Matters in Yearbook Design
When files are named correctly, folders are arranged clearly, and deadlines are visible, your workflow becomes smooth and professional.
The publication staff can focus on creativity instead of chaos.
The printing press receives complete and correct files.
And your finished yearbook comes out on time, error-free, and beautifully printed.
Free Resource: Download the Yearbook Document Setup-PDF
To make your job even easier, we created a ready-to-use printable checklist.
It includes:
- Step-by-step tasks
- Staff responsibilities
- Deadline columns
- File management guide
Download your free copy now at indesignsp.jumarhenson.com
Make your next yearbook project organized, efficient, and print-perfect!
Final Thoughts
Yearbook design isn’t just about photos and pages — it’s about teamwork, process, and precision.
When your publication staff follows a clear system, guided by a well-made checklist, you’ll produce a yearbook that everyone will be proud of — students, parents, and the whole school community.
With the right workflow, the right tools, and a trusted layout partner like indesignsp.jumarhenson.com,
you can make every yearbook a masterpiece — on time, every time.
